Installation
Step 1: Install this module
You can use the following command to install this module from PyPi:
pip install django_yubico
Alternatively you can also install the latest development version from the git repository:
pip install -e git+https://github.com/Kami/django-yubico-authentication-backend#egg=django-yubico
Step 2: Add django_yubico to the INSTALLED_APPS
Once the django_yubico is in your Python path, you need to modify the INSTALLED_APPS setting to include the django_yubico module:
INSTALLED_APPS = (
    # ...,
    # Third-party
    'django_yubico',
    # ...,
)
Step 3: Run syncdb to generate the necessary table
Run syncdb (this will create the database table which holds data about the YubiKeys):
python manage.py syncdb
Step 4: Login to the admin panel and add one or more YubiKeys
Login to the Django admin panel, visit the Django_yubico application setting and add a new YubiKey for your user account:
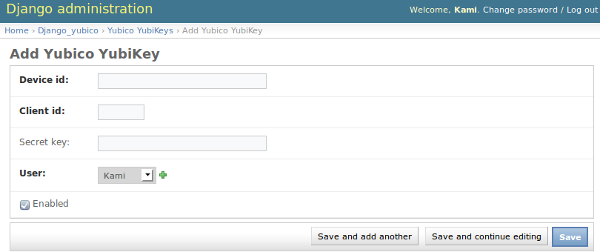
Device id- the first 12 characters of the token (you can obtain it by generating an OTP and taking first 12 characters)Client id- your client id (you can obtain it by visiting the Yubico website)Secret key- this field is optional and you only need to specify it if you want the underlying client to verify the server response message HMAC-SHA1 signature (you can obtain it on the same page where you got your client id)User- The user which will be able to login with this YubiKey (remember that you can map a single YubiKey to multiple users)Enabled- You can optionally disable this YubiKey (meaning that you won’t be able to login using this YubiKey until you enable it)
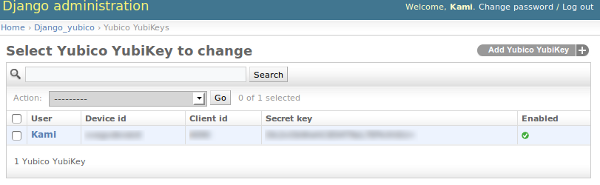
When you click save, key should be successfully added and you are almost done.
Step 5: Enable the custom authentication backend
To activate this backend you need at least put django_yubico.backends.YubicoBackend line to the AUTHENTICATION_BACKENDS tuple:
- AUTHENTICATION_BACKENDS = (
- ‘django_yubico.backends.YubicoBackend’,
)
For more information about the available backends and how they work, please visit the available authentication backends page.
Step 6: Load the module urls.py file
Put the following line in your urls.py file:
(r'^yubico/', include('django_yubico.urls')),
Step 7: Test if everything works
Visit http://yourpage.com/yubico/login/ and if everything went ok you should be able to login using your website username, OTP generated by YubiKey and a password.
By default you need to enter both - first your username and OTP and in the second step, your account password. For more information how to change this behavior, visit the Settings page.